Sew Along 1: Pumpkin!
Welcome to Our Sew-Along Series!
We’re so excited to share some of our favourite sewing club projects with you so you can recreate them at home. These projects are designed with children in mind, but they’re also perfect for adults who are just starting out with a sewing machine.
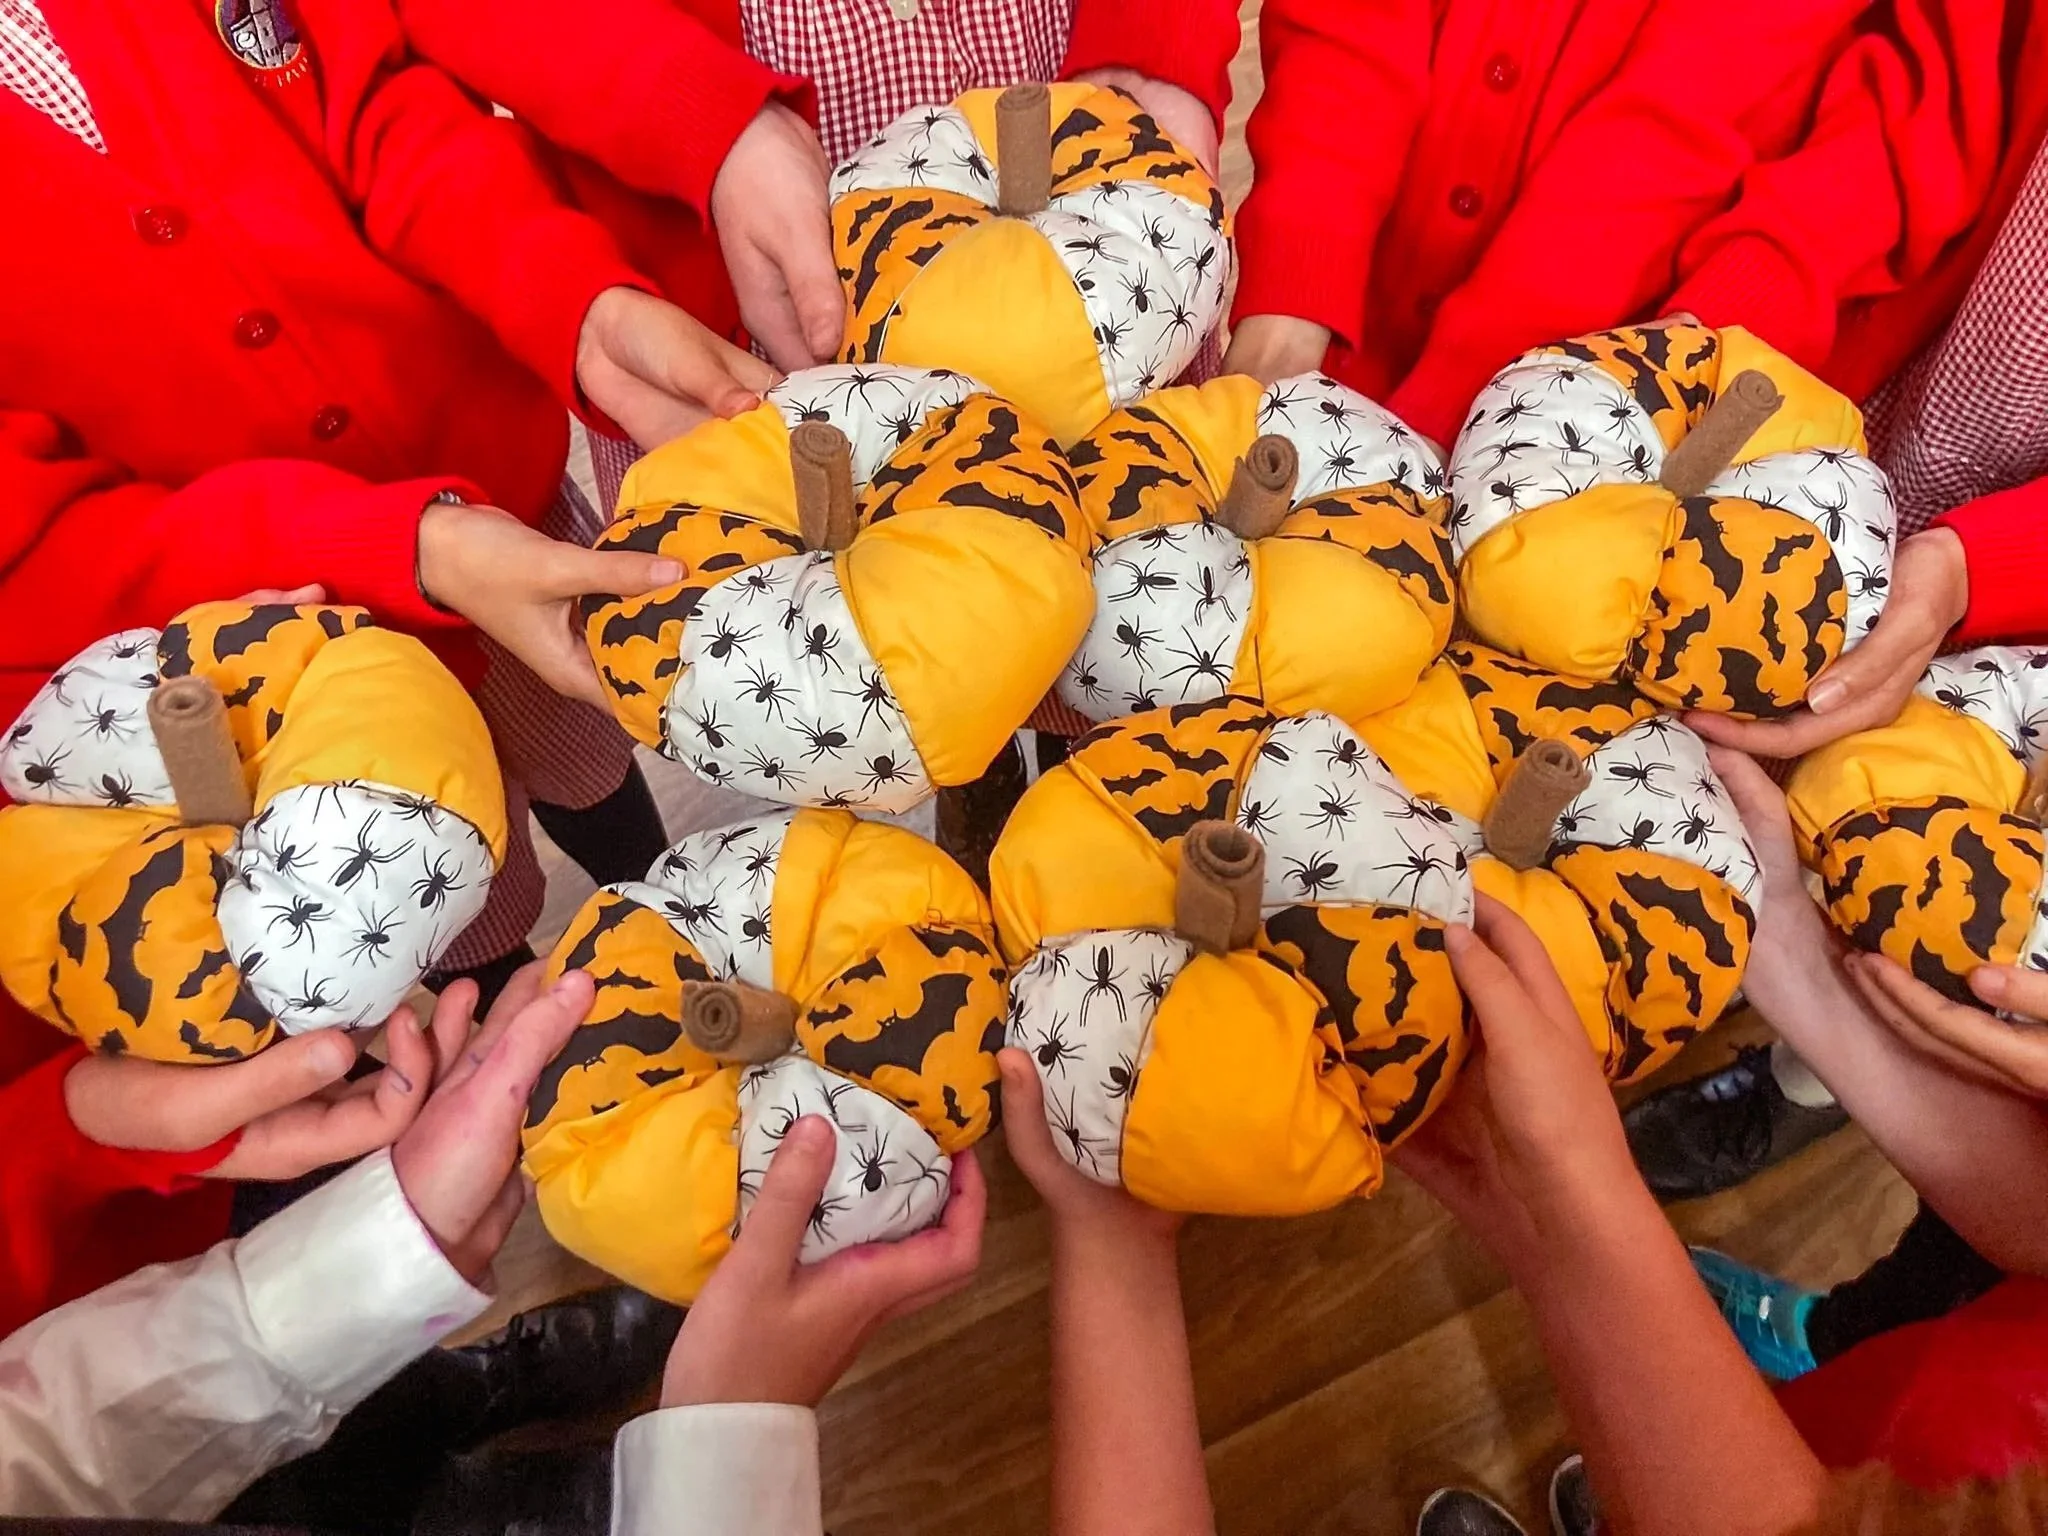
Today we’re making a stuffed fabric pumpkin – a simple and fun project that’s great for autumn or Halloween decorating.
You will need:
Autumn/Halloween themed or coloured fabric - at least 2 contrasting fabrics work well
Sewing machine, scissors, threads and clips
Stuffing
Print off this template from It’s Always Autunm (I would recommend starting with the larger pattern)
Embroidery floss and a long hand needle
Small piece of felt and a glue gun for the stem
Let’s Sew!
Cut your fabric
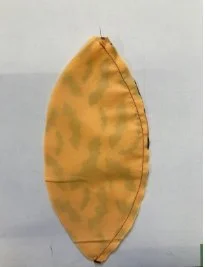
Using the paper template, cut out 6 pumpkin shapes from your chosen fabrics.
Sew the first half
Place two pieces right sides facing (RSF) and sew down one edge.
Open them out, then place a third piece RSF and sew down one edge.
This gives you half a pumpkin.
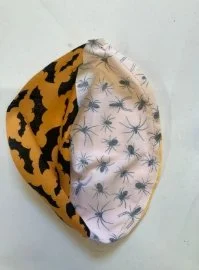
Repeat for the second half
Follow the same steps with your remaining 3 pieces, so you end up with 2 halves.
Join the halves
Place the 2 halves together RSF and clip around the edges.
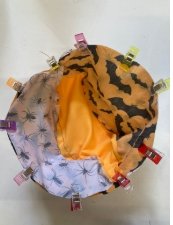
Mark a “no-sew zone” (a gap for turning and stuffing), then sew around the rest of the circle.
Turn and stuff
Flip the pumpkin right-side out through the gap.
Fill with stuffing until plump, then hand-sew the opening closed. Don’t over stuff your pumpkin or the hand sewing stage will be difficult!
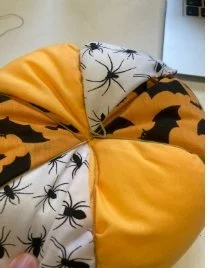
Shape your pumpkin
Thread your embroidery floss onto the needle and sew through the middle, going in and out along each seam line. This pulls the fabric in slightly and gives that classic pumpkin shape.
Add the stem
Roll up your felt into a stem shape, secure with the glue gun, and then glue it onto the top of your pumpkin.
And that’s it – your fabric pumpkin is ready!